The Ultimate Guide to DIY Oil Changes: Save Money and Maintain Your Car
DIY Oil Changes: Save Money and Maintain Your Car:
Are you tired of paying hefty fees for routine oil changes?
Learning how to perform DIY oil changes can save you money and give you a better understanding of your vehicle’s maintenance needs.
This comprehensive guide will walk you through the process step-by-step, ensuring you can confidently change your car’s oil at home.
Why DIY Oil Changes Matter:
Regular oil changes are crucial for maintaining your car’s engine health and performance. By doing it yourself, you can:
1. Save money on labor costs
2. Ensure high-quality oil and filters are used
3. Gain a better understanding of your vehicle
4. Spot potential issues early
What You’ll Need for a DIY Oil Change:
Before you start, gather these essential tools and materials:
– New oil (check your car manual for type and quantity)
– New oil filter
– Oil filter wrench
– Socket wrench set
– Funnel
– Oil pan
– Jack and jack stands
– Gloves
– Old newspapers or cardboard
Step-by-Step Guide to a DIY Oil Change:
1. Prepare Your Vehicle:
– Park on a level surface and engage the parking brake
– Jack up the car and secure it with jack stands
– Let the engine cool for about 30 minutes
2. Locate and Remove the Oil Drain Plug:
– Place the oil pan underneath the drain plug
– Use a socket wrench to loosen and remove the plug
– Allow the old oil to drain completely
3. Replace the Oil Filter:
– Locate the oil filter (consult your car manual if unsure)
– Use the oil filter wrench to remove the old filter
– Apply a thin layer of new oil to the gasket of the new filter
– Install the new filter, tightening it by hand
4. Replace the Oil Drain Plug:
– Clean the drain plug and its surrounding area
– Replace the drain plug and tighten it to the specified torque
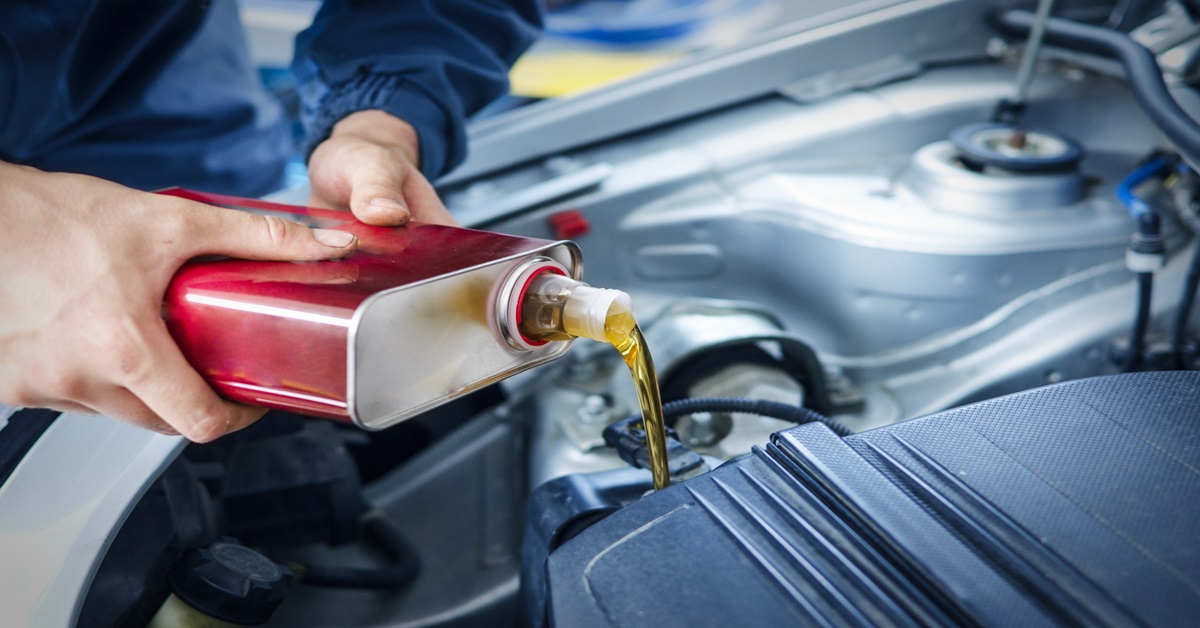
5. Add New Oil:
– Remove the oil filler cap on the engine
– Use a funnel to add the new oil
– Check the dipstick to ensure the correct oil level
6. Finish Up:
– Replace the oil filler cap
– Lower the car from the jack stands
– Start the engine and check for leaks
– Dispose of the old oil properly at a recycling center
Tips for a Successful DIY Oil Change:
1. Always consult your car’s manual for specific instructions and oil specifications
2. Keep a log of your oil changes to track maintenance
3. Check other fluids while you’re under the hood
4. Consider upgrading to synthetic oil for better engine protection
Conclusion:
Mastering the DIY oil change process is a valuable skill for any car owner.
It saves you money and helps you stay more in tune with your vehicle’s needs.
By following this guide and practicing safety, you’ll change your oil like a pro in no time.
Remember, regular oil changes are just one part of a comprehensive car maintenance routine. Stay proactive, and your car will reward you with better performance and longevity.